Custom neon signs are expensive. This DIY craft teaches you how to make one on a budget. You can find a DIY neon kit or a commercially available kit at a hardware store. In addition, you can also learn about maintenance and repair. If you want to build neon lights, you will need to purchase electroluminescent wire. In this DIY project, you’ll learn how to make a neon sign with the help of an electroluminescent wire.
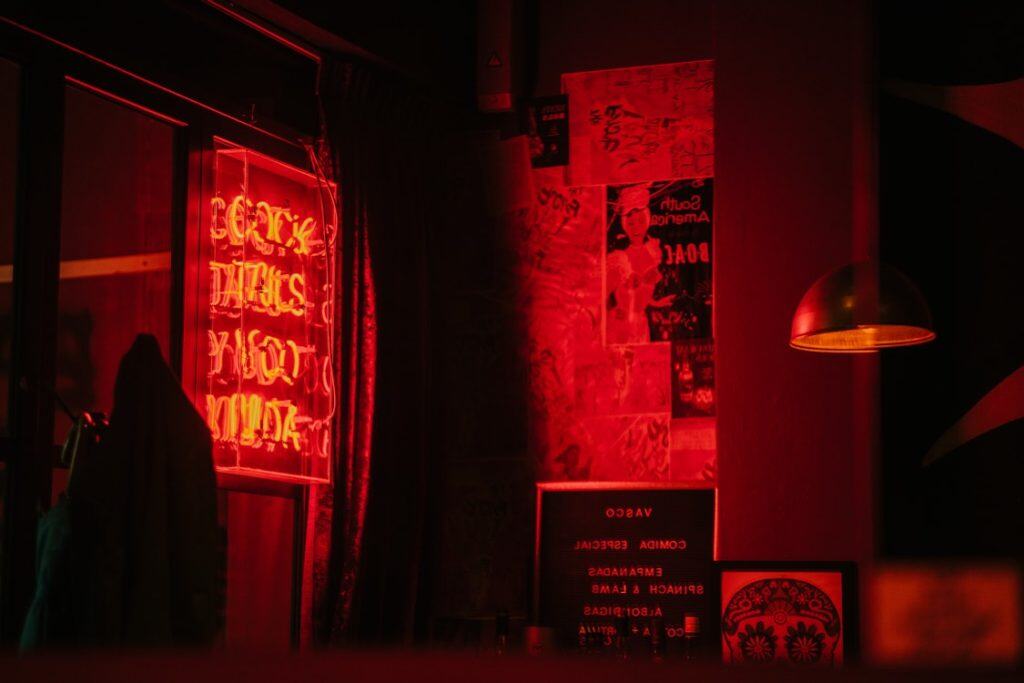
Custom Neon Signs Can Be Expensive
If you’re on a budget, you can still create your own custom neon sign, whether you’re making one for personal use or to decorate an area. It’s not difficult to do and will give you the chance to express your personality in a unique way. If you want to create a more personal gift, you can even make your own neon sign to give to someone special. The process is simple, and you can save money while having fun!
The first step is to find a reliable source of materials. Fortunately, many places sell neon supplies, including Amazon. Amazon is the largest e-commerce site in the world, which means you can find anything you want. It’s also worth noting that the United Kingdom is the second-largest market for neon signs after the United States. As a result, there are numerous stores in the United Kingdom that sell custom neon signs, and most of them source their materials from Chinese neon sign manufacturers.
Once you have the materials, you’ll need to decide where to hang the neon sign. You can use thumbtacks or hooks to hang it. You can also hang the sign in a window. The idea is to choose a place that has the biggest impact, but you can also use suction cups to attach it to the glass. You can also use EL wire to match the color scheme of your room.
Homemade neon signs are another great way to add decor and advertising to your home or business. Creating your own neon sign is easy, affordable, and unique. And you don’t need to be an artist to make them! Just follow these steps and you’ll have your own custom neon signs in no time. You don’t need to spend a fortune on them – you can do this yourself with just a few supplies and a few hours!
Aside from DIY, you can also purchase neon signs from a local store or online. Depending on your budget, they can cost anywhere from $110 to $500. It’s easy to get inspired by Pinterest. Use the website to find neon sign quotes and other ideas. Then, follow the instructions to make it as professional as possible. You’ll be surprised at the amazing results you’ll have!
Cheap Options

DIY projects are fun and rewarding. While you may have limited resources, DIY neon lights can be inexpensive, beautiful, and very functional. In this article, we’ll show you how you can build your own neon lights. Read on for more tips! Here are some of the most popular DIY projects for light fixtures:
First, buy some EL wire. Color your wire to match the color scheme of the room. Once you have some EL wire, you can start attaching the neon light to it. Then, connect the neon light to the battery pack and string. Slowly glue the neon light to the wires and cut off any excess neon light. The finished product should look just like a real neon sign. You’re now ready to display your new lights!
Alternatively, you can buy a Protect neon sign. This model is affordable and comes in a lightning bolt shape. It’s about 13 inches long and can be powered by AA batteries or USB. One drawback of this neon sign is the lack of warranty. You can also try making your own LED neon sign if you’re on a tight budget. But remember to carefully follow the instructions on the package to avoid damaging the LEDs or resulting in a dangerous situation.
Before you start putting together your DIY neon sign, you should first draw it out on paper. Be sure that the design is large enough to be seen. You can also trace the design with a string to find out how long it needs to be. Next, cut a wire the same length as your string and bend it along the design you’ve envisioned. If you want a very bright neon sign, you can use an LED instead of EL wire.
DIY neon signs can be extremely simple to make, and they can add a stunning decoration to any room. They can be a great decoration for a wedding or party and are easy to make. All you need are some simple materials like EL wire, a piece of MDF board, a hot glue gun, and a piece of paper. You can also draw a picture of the design on the board and trace it with the wire. It doesn’t have to be professional – just make sure you have enough wire to fit the word you want.
Maintenance
There are a few tips to maintain neon signs from Neon Mama. These signs are durable and have a long life span. Regular maintenance and repair are relatively easy. If you’re on a budget, you can buy a kit that contains the necessary parts to care for neon signs yourself. In most cases, problems occur due to problems with the wiring or electrical system. In addition, neon lights are environmentally friendly, as they use helium gas to make them glow. In turn, this reduces electricity costs.
The first step to repairing your neon sign is to test the voltage and energy supply. The voltage supply is located at the neon sign, so be sure to test the connection using a multimeter. Otherwise, the sign will flicker and may require a set-up transformer. Cracks and lose wires may also lead to dimmer and less intense lights. If you can’t find the power source yourself, you can replace the shakin’ glass or clean the nuts and bolts.
Another important factor in neon maintenance is their lifespan. They last for a longer time than LED lights, but they require more maintenance in colder climates. Despite the low cost of electricity, neon signs require a specialist to install them. This means that it’s important to find a specialist to install them, so it’s important to do your research before purchasing a neon sign. If you’re looking for low-cost solutions, consider LED alternatives.
Repair Options
There are several repair options available for neon lights, depending on the cause of the failure. The most common cause of neon light failures is a malfunction of the transformer or even a problem with the connections. However, there are some repairs that you can make yourself. If you have a low budget, you can try replacing the specific parts. To keep your neon lights functioning, be sure to turn off the neon sign before performing any repairs.
While traditional neon signs are very popular, they can also be difficult to repair. The glass is brittle, and the gas used to power the bulbs can leak. While traditional neon lights provide a unique flickering glow, they are also expensive to install and maintain. Repair options for neon lights on a budget include using a flexible LED neon rope light. Flexible LED neon rope lights are ideal for accent lighting indoors or for custom lettering.
Another option is to replace the transformer. A ruined transformer can cause a wide variety of problems, including a dimmer light. However, if the transformer is intact, you can simply replace the neon tubes themselves. Otherwise, a cracked glass can be worsened by shaking the lamp. To avoid this problem, you can invest in an invisible splice kit. The invisible splice kit is used to reconnect broken glass neon signs.
If you don’t want to spend too much money on a single unit, you can also opt to repair a neon sign yourself. While these repairs are not as easy as buying a new neon sign, they can save you a great deal of money and make your signage unique. Neon signs are not only attractive, but they can also be useful for advertising, as they allow for 360-degree visibility.